Have you ever watched a crack climber defying gravity on a vertical rock face and wondered how they manage to maintain their grip and navigate the intricate cracks? Whether you’re a seasoned rock climber looking to improve your technique or a newbie fascinated by this unique discipline, learning how to tape your hands for crack climbing is a skill that can take your climbing abilities to new heights.
In this blog post, we will explore the importance of taping your hands, walk you through the step-by-step process on how to tape hands for crack climbing, and provide you with invaluable tips and tricks to maximize your performance and prevent injuries. So, get ready to dive into the fascinating world of crack climbing and discover the secret behind those seemingly impossible feats of rock climbing mastery!
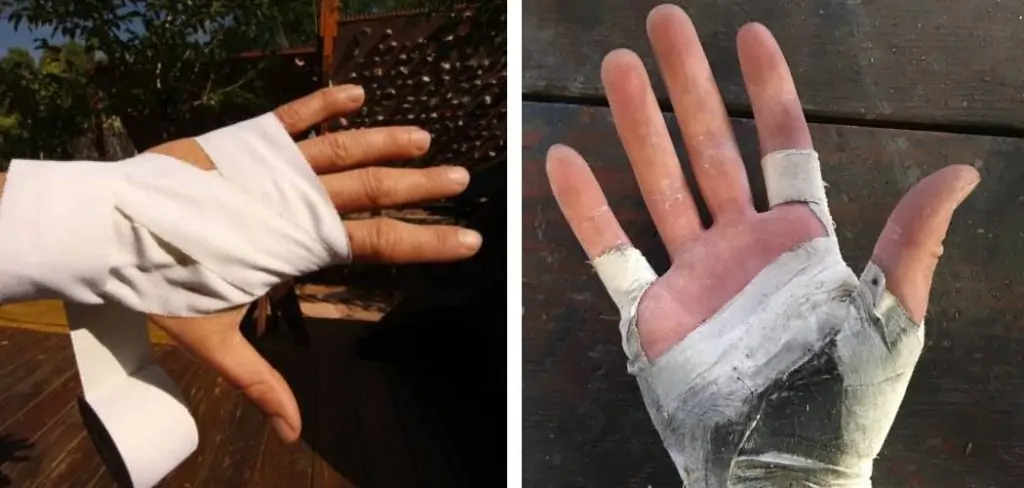
Why Tape Your Hands for Crack Climbing?
The main goal of taping your hands for crack climbing is to protect them from painful scrapes, cuts, and blisters that are common when climbing through cracks. In addition, it provides a better grip on the rock, allowing you to make more precise movements and hold onto smaller features with ease. Taping also helps to prevent your skin from tearing or peeling off, which can be incredibly painful and take weeks to heal. Furthermore, taping can give you an edge by providing additional support for your joints and tendons, reducing the risk of injuries and allowing you to climb longer and harder routes without fatigue.
Step-by-step Process on How to Tape Hands for Crack Climbing
Now that we understand why it’s crucial to tape your hands for crack climbing, let’s delve into the process of taping itself. Keep in mind that different climbers have their preferred methods and techniques, so don’t be afraid to experiment and find what works best for you. However, here is a general guide to get you started:
Step 1: Gather Materials
Before you begin taping your hands, make sure you have all the necessary materials. This includes athletic tape, specifically designed for athletic pursuits that require a strong grip and won’t easily peel off due to sweat or abrasion. You’ll also need a pair of scissors to cut the tape and chalk to improve grip and reduce moisture on your hands. Some climbers prefer to use pre-cut tape, while others choose to cut their tape into strips of varying sizes based on their specific needs. Experiment with different types of tape, as some may stick better or offer more flexibility than others.
Step 2: Clean and Dry Hands
It is important to start with clean and dry hands to ensure the tape adheres properly. Use soap and water to wash your hands, making sure to clean all the dirt or sweat that could interfere with the tape’s adhesion. After washing, dry your hands thoroughly. You want to remove all moisture because any dampness can cause the tape to slip or peel off prematurely. Now, your hands are prepared for taping.
Step 3: Prepare Tape Strips
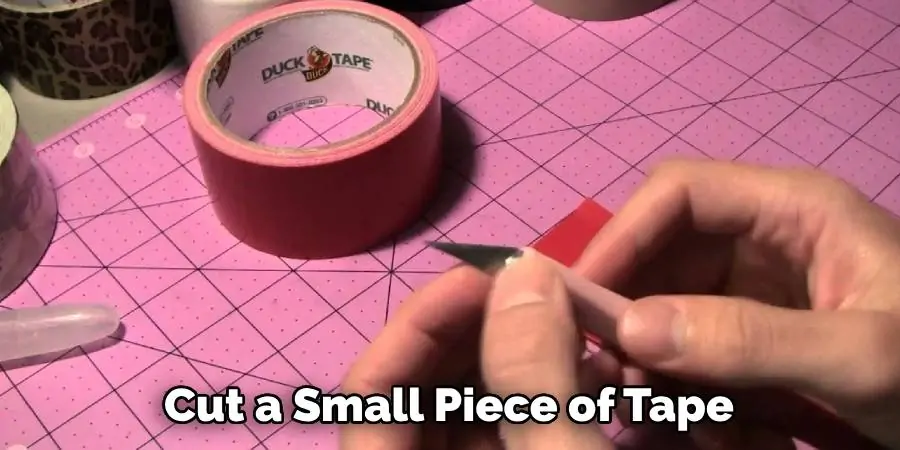
Cut several strips of athletic tape, each about 12-18 inches long depending on the size of your hands. These will be used to wrap around your fingers and knuckles. The length and width of the tape strips can be adjusted according to your personal preference and the size of your hands. It is better to cut a few extra strips than what you think you might need, to avoid running out of tape in the middle of the process. Remember, the goal is to cover your hands adequately for protection while maintaining enough flexibility for movement.
Step 4: Start at the Wrist
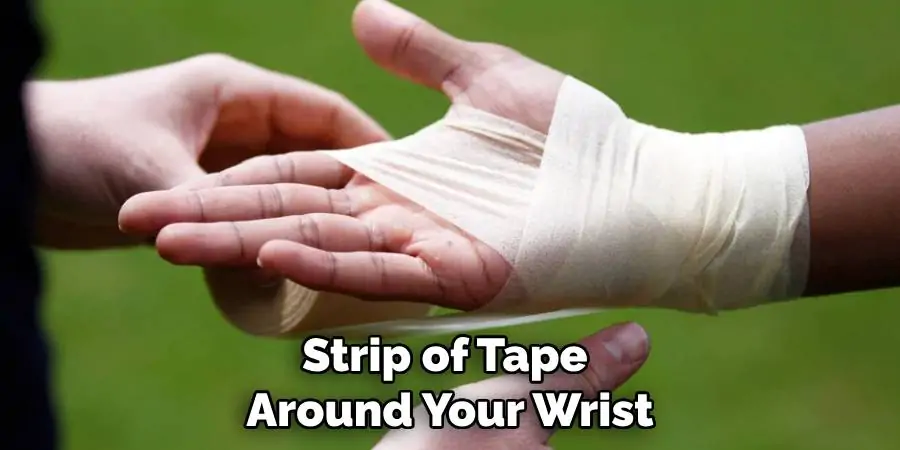
Begin by wrapping one strip of tape around your wrist, making sure it is tight but not too constricting. This will act as a base for the rest of the taping process. It provides support for your wrist and prevents the tape from peeling off as you climb. Ensure the tape is flat and smooth around your wrist to avoid any discomfort. Remember, the tape should be secure but not so tight that it hinders circulation.
Step 5: Wrap Fingers Individually
Starting with your pinky finger, wrap a strip of tape around the base of the finger where it meets your palm. Then continue wrapping down towards the tip of your finger, making sure to overlap each layer slightly. This ensures that the entire finger is covered and protected. Be careful not to wrap the tape too tightly, as this can restrict circulation and alter your grip. Repeat this process for each finger, taking special care when taping the thumb due to its unique position and function in climbing.
Step 6: Add Extra Support for Joints
For extra support on joints such as knuckles or between fingers, cut shorter strips of tape and wrap them horizontally over the initial vertical strips. These shorter pieces will provide much-needed reinforcement in areas of high stress and movement. To secure the joints properly, start by placing the middle of the strip on the back of your hand. Then, wrap it around your finger and back onto your hand, crisscrossing the tape to form an “X” shape. This technique ensures a snug fit and keeps the tape in place even during intense climbing sessions. Repeat this process for all fingers, paying close attention to any areas that feel particularly vulnerable or prone to injury.
Step 7: Secure Thumb Joint
The thumb joint is often under a lot of stress during crack climbing, so it is important to give it extra support. Cut a small piece of tape and wrap it diagonally across the joint from one side to the other. This should be done in such a way that it covers the base of the thumb, crosses over the joint, and extends a little onto the palm. Ensure the tape is secure but not overly tight to maintain flexibility. Repeat this process a couple of times, each time starting from a slightly different point on the base of the thumb to ensure comprehensive coverage and support. This method will provide a robust support system for your thumb and enhance your grip when climbing.
Step 8: Cover Remaining Fingers
Continue wrapping each finger individually until all fingers are covered in tape up to their tips. Make sure each finger is adequately protected without restricting flexible movement. The tape should be firm but comfortable, providing a secure grip without compromising circulation. Be mindful to smooth out any ruffles or creases in the tape as these can cause discomfort during climbing. Once all fingers are covered, your hands are well-protected for the rigorous demands of crack climbing.
Step 9: Use Chalk for Grip
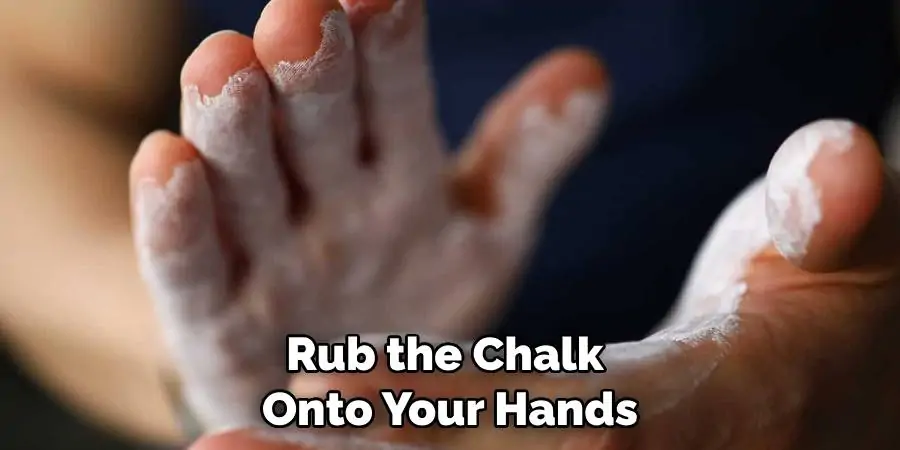
To further enhance your grip and reduce moisture on your hands, use a small amount of chalk. This will help prevent the tape from slipping or peeling off during climbing. Rub the chalk onto your hands, paying special attention to areas that come into contact with the rock face. You can also apply some chalk directly onto the tape for added security.
Step 10: Repeat for Other Hand
The aforementioned steps (4-9) should now be repeated on your other hand. Begin with wrapping a strip of tape around the wrist, followed by individually wrapping each finger starting from the pinky. Next, add extra support for joints with shorter strips of tape, paying particular attention to the thumb due to its unique position and function in climbing. Once all fingers are adequately covered, apply a light dusting of chalk to enhance your grip. Following these steps will ensure that both your hands are well-prepared and protected for the strenuous demands of crack climbing.
Step 11: Test for Comfort and Flexibility
Once both hands are taped, test for comfort and flexibility by making a few fist shapes, opening and closing your hands several times, and bending your fingers. This will help you get a feel of the taping and allow you to adjust any areas that feel too tight or uncomfortable. Make sure to move your hands and fingers in all directions to verify that you have a full range of motion. If any area of tape is too restrictive, carefully unwrap and reapply it, bearing in mind to make it secure but not overly tight. This is your final check to ensure maximum comfort and flexibility before you start your crack climbing adventure.
You Can Check it Out to Tape Fingers for Climbing
Step 12: Practice and Refine
Taping your hands for crack climbing may take some practice to find the right amount of support and flexibility for your individual needs. Don’t be afraid to experiment with different thicknesses and types of tape, wrapping techniques, and coverage areas. The most effective taping technique will depend on numerous factors such as your hand size, the type of rock you’re climbing, and your personal sensitivity to pain or discomfort. Over time, you will become more adept at identifying what provides the best balance between protection and dexterity. Remember, the taping process is not a one-size-fits-all solution. Stay attuned to your body’s signals, and don’t hesitate to adjust your taping in response to your evolving needs and preferences. Thus, as you refine your technique and gain experience, you’ll find that taping can greatly enhance your climbing performance and enjoyment.

Frequently Asked Questions
Why Do Rock Climbers Tape Their Hands?
Rock climbers tape their hands to protect their skin from abrasions, cuts, and blisters while climbing. It also provides extra support for finger joints and helps improve grip on the rock surface.
Should I Tape My Fingers Together for Crack Climbing?
Taping fingers together can help distribute weight and reduce stress on individual fingers during crack climbing. However, it is not necessary and depends on personal preference. Some climbers may find it more comfortable to tape each finger individually.
How Long Should I Tape My Hands Before Climbing?
It is recommended to tape your hands right before climbing, as the tape may lose its adhesive properties if applied too far in advance. Additionally, taping for extended periods can restrict circulation and cause discomfort during climbing.
Conclusion
In conclusion, learning how to tape hands for crack climbing is an essential skill that every climber should possess. By following the step-by-step process outlined in this blog post, you can ensure that your hands are properly protected and supported while tackling those tough cracks. Remember to always listen to your body and adjust the taping technique to fit your specific needs. And don’t be afraid to experiment with different styles or techniques – after all, climbing is all about pushing yourself out of your comfort zone!
So go out there and put these tips into practice, explore new routes, and take on bigger challenges with confidence. Your hands will thank you for it! Thank you for reading this post and I hope it has been informative and helpful. Now, let’s grab some tape and start taping our hands for crack climbing! Who knows what incredible peaks we can conquer with our newly acquired skills? The possibilities are endless, so let’s get out there and reach new heights together.
